Welcome to the Honeywell Pro 6000 Installation Manual, your guide to installing and configuring your advanced thermostat. This manual provides step-by-step instructions, safety tips, and troubleshooting solutions to ensure a smooth setup and optimal performance of your device.
1.1 Importance of the Manual for Proper Installation
The Honeywell Pro 6000 Installation Manual is essential for ensuring a safe, correct, and efficient setup. It provides detailed instructions, safety precautions, and troubleshooting tips, helping you avoid common errors and guarantee optimal performance. Follow the guide carefully to prevent damage, ensure system compatibility, and achieve proper functionality of your thermostat.
1.2 Overview of the Honeywell Pro 6000 Thermostat
The Honeywell Pro 6000 is a cutting-edge programmable thermostat designed for precise temperature control and energy efficiency. It features smart home integration, advanced zoning capabilities, and customizable settings. This thermostat supports various HVAC systems, including heating, cooling, and emergency heat, making it a versatile solution for modern home comfort and automation needs.
Pre-Installation Requirements and Preparation
Before installing the Honeywell Pro 6000, ensure you have all necessary tools and materials. Verify system compatibility and safety precautions, such as disconnecting power, to prepare for a successful installation process. Proper planning and preparation are essential to avoid complications and ensure optimal thermostat performance.
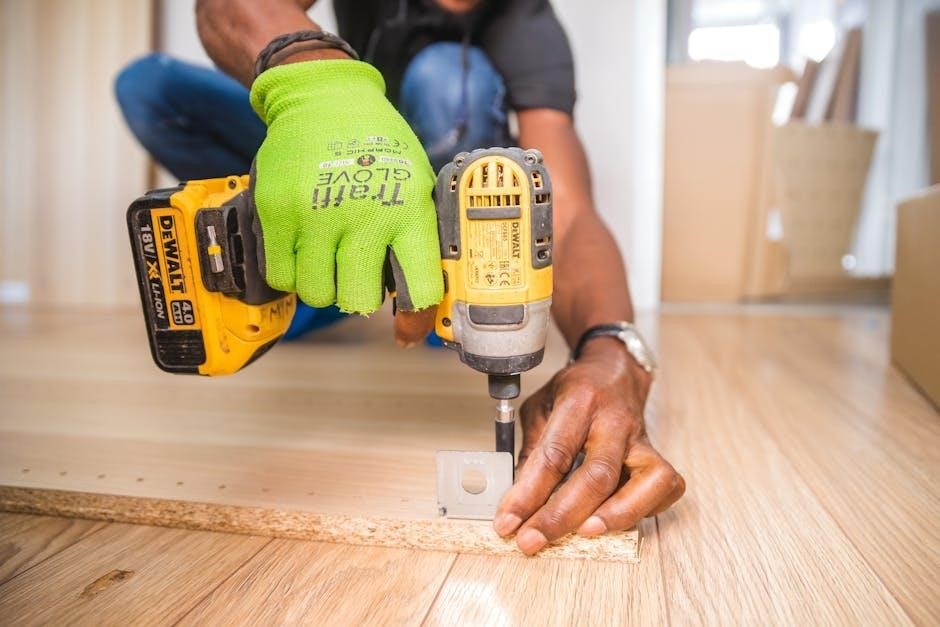
2.1 Tools and Materials Needed for Installation
To install the Honeywell Pro 6000, you’ll need a screwdriver, battery holder, and wiring tools. Ensure you have mounting screws, drywall anchors, and a voltage tester for safety. The reference card from the packaging will also be essential for programming and configuration during the setup process.
2.2 Understanding System Compatibility and Requirements
Ensure your HVAC system is compatible with the Honeywell Pro 6000. It supports single-stage, multi-stage, and heat pump systems. Verify voltage requirements (24V AC) and wiring configurations. Check if your system includes emergency heat or zoning capabilities. Match the thermostat settings to your HVAC type for proper functionality and efficient operation.
2.3 Safety Precautions Before Starting the Installation
Disconnect power to the HVAC system before installation. Wear safety gear, including gloves and goggles. Ensure proper grounding to avoid electrical shock. Handle components carefully to prevent damage. Follow all instructions and local regulations. Test systems post-installation to ensure safe operation. Never bypass safety features or skip critical steps outlined in the manual.
Wallplate and Wiring Installation
This section guides you through installing the wallplate and configuring the wiring for your Honeywell Pro 6000 thermostat, ensuring proper setup for optimal performance.
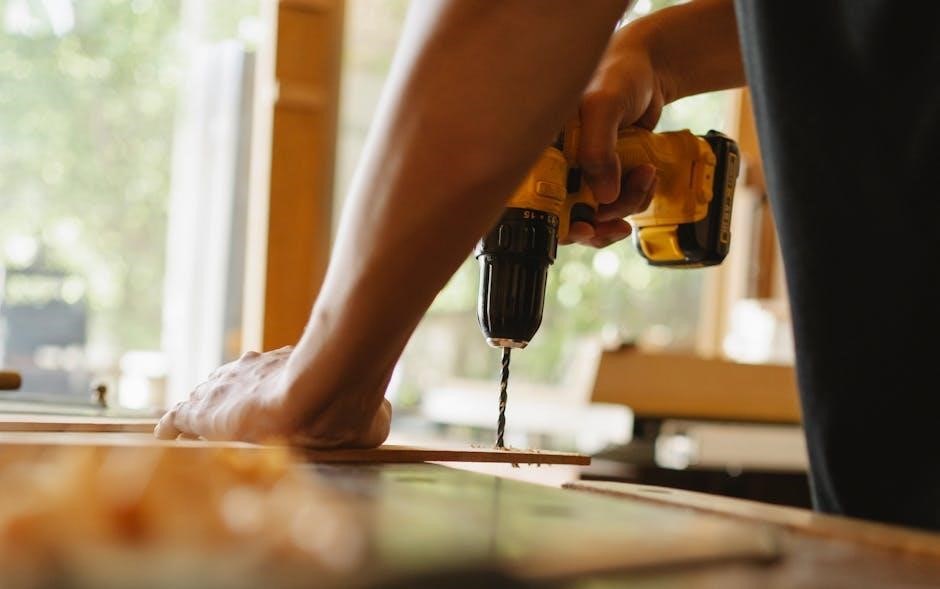
3.1 Step-by-Step Wallplate Installation Process
Begin by removing the wallplate from the thermostat. Take out the battery holder to access the wiring. Mount the wallplate securely, ensuring it is level. Follow the provided mounting instructions for precise installation. Once mounted, carefully pull the wires through the designated wire hole and connect them according to the wiring diagram. Ensure all connections are secure and tightened properly to avoid any issues during operation. Finally, replace the battery holder and reattach the wallplate to complete the installation process. This step is crucial for ensuring the thermostat functions correctly and maintains optimal performance. Always refer to the manual for specific wiring configurations to match your HVAC system requirements. Proper installation guarantees safety, efficiency, and reliability of your Honeywell Pro 6000 thermostat. If unsure, consider consulting a licensed professional to handle the wiring and mounting to prevent any potential hazards or malfunctions.
3.2 Wiring Connections and Configuration
Begin by identifying the terminal labels on the wallplate and the thermostat. Carefully connect the wires to the corresponding terminals, ensuring proper alignment with your HVAC system type. Refer to the wiring diagram provided for precise connections. For systems with emergency heat, install a field jumper between the Aux and E terminals if no emergency heat relay is present. Secure all wire connections tightly to prevent loose contacts. Double-check the wiring configuration to match your system requirements, such as heating, cooling, or dual-fuel setups. Proper wiring ensures safe and efficient operation of the thermostat. If unsure, consult a licensed electrician or the manual for detailed guidance.
3.3 Common Issues and Solutions During Wiring
Common wiring issues include loose connections, incorrect terminal assignments, and missing field jumpers for emergency heat. To resolve, ensure all wires are securely fastened and terminals match your HVAC system. For systems without an emergency heat relay, install a jumper between Aux and E terminals. If issues persist, consult the manual or contact a professional for assistance.
Thermostat Configuration and Setup
4.1 Initial Setup and Programming the Thermostat
Start by disconnecting power to your HVAC system. Remove the wallplate and battery holder, then mount the new thermostat. Insert the batteries, power on the system, and follow the on-screen prompts to set up basic configurations, including time, temperature units, and Wi-Fi settings. Program heating and cooling schedules to match your preferences, ensuring optimal comfort and energy efficiency.
4.2 Configuring the Thermostat to Match Your HVAC System
Select the correct system type (heat/cool or emergency heat) on the thermostat. Connect to Honeywell zoning panels if applicable. Install field jumpers between Aux and E for systems without an emergency heat relay. Test heating, cooling, and fan functions to ensure compatibility and proper operation with your HVAC setup.
4.3 Customizing Features for Optimal Performance
Customize your Honeywell Pro 6000 thermostat by enabling energy-saving modes, adjusting temperature ranges, and setting schedules. Utilize smart home integration for voice control and remote adjustments. Configure zoning systems and emergency heat options to optimize performance. Regularly update software for enhanced features and ensure all settings align with your HVAC system for maximum efficiency and comfort.
System Testing and Verification
Test your HVAC system’s heating, cooling, emergency heat, and fan functions after installation. Verify each operation to ensure proper performance and system compatibility, confirming a successful setup.
5.1 Testing Heating, Cooling, and Emergency Heat Systems
After installation, test the heating, cooling, and emergency heat systems to ensure proper functionality. Turn on the thermostat and verify each mode operates correctly. Check for consistent temperature control and smooth transitions between modes. Confirm the emergency heat engages when required and that all systems perform efficiently without issues.
5.2 Verifying Fan and Auxiliary Functions
Ensure the fan operates smoothly in both auto and manual modes. Test auxiliary functions like emergency heat or two-stage systems. Verify all functions activate correctly and maintain consistent performance. If issues arise, check wiring connections and consult the manual for troubleshooting steps to ensure optimal system operation.
5.3 Ensuring Proper System Operation After Installation
After installation, verify that all system components operate correctly. Test heating, cooling, and emergency heat modes to ensure proper function. Check fan operation in both auto and manual settings. Use the thermostat’s diagnostic tools to identify and address any issues promptly. This ensures reliable performance and maintains energy efficiency throughout the system.
Advanced Features and Customization
The Honeywell Pro 6000 offers advanced features like smart home integration, customizable zoning systems, and energy-saving settings to optimize performance and efficiency for your specific needs.
6.1 Smart Home Integration and Wi-Fi Setup
To integrate your Honeywell Pro 6000 with smart home systems, connect it to your Wi-Fi network. Download the Honeywell Home app, pair the thermostat, and follow in-app instructions. Ensure a stable internet connection for seamless functionality. This setup allows voice control via Google Assistant or Alexa, enhancing convenience and remote management capabilities for optimal comfort and efficiency. Use the app to customize settings and receive alerts.
6.2 Configuring Zoning Systems and Emergency Heat Options
Configure zoning systems by connecting the Honeywell Pro 6000 to compatible zoning panels. For emergency heat, install a field jumper between Aux and E terminals if no relay is present. This setup ensures proper activation of emergency heat during system failures, maintaining consistent temperatures and system reliability; Follow the manual for precise wiring and configuration steps to avoid errors and ensure safety.
6.3 Energy-Saving Features and Custom Settings
The Honeywell Pro 6000 offers advanced energy-saving features, including smart scheduling and geofencing, to optimize energy usage. Custom settings allow you to adjust temperature limits, humidity levels, and system alerts. These features help reduce energy consumption while maintaining comfort. Use the thermostat’s interface to configure these settings and ensure your HVAC system operates efficiently, lowering utility bills and extending equipment lifespan.
Troubleshooting Common Issues
Address common issues like wiring errors, display malfunctions, or system incompatibility. Refer to error codes for specific solutions. Perform system tests to verify functionality and resolve problems effectively.
7.1 Identifying and Resolving Installation Errors
Check wiring connections for loose or incorrect configurations. Verify system compatibility and ensure all components are properly installed. Refer to error codes for specific issues and follow troubleshooting steps to resolve installation-related problems. Perform a system test after repairs to confirm functionality and ensure optimal performance.
7.2 Addressing Common Operational Problems
Address issues like uneven heating/cooling or unresponsive screens by checking sensor accuracy and ensuring proper system configuration. Restart the thermostat and verify wiring connections. Consult the manual for error code solutions or contact Honeywell support for further assistance. Regular updates and maintenance can prevent recurring operational issues.
7.3 Understanding Error Codes and Solutions
Refer to the error code list in the manual to diagnose issues like E1 (temperature mismatch) or E2 (sensor fault). Solutions include checking wiring connections, restarting the thermostat, or recalibrating sensors. For persistent issues, consult the troubleshooting guide or contact Honeywell support for professional assistance. Regular software updates can resolve many error-related problems.
Maintenance and Upkeep of the Honeywell Pro 6000
Regular cleaning and inspections ensure optimal performance. Update software and firmware to maintain functionality. Schedule professional maintenance annually to check wiring and system compatibility for long-term efficiency.
8.1 Regular Cleaning and Inspection of Components
Regularly clean the thermostat’s display and components with a soft cloth to prevent dust buildup. Inspect wires for damage or wear and ensure all connections are secure. Check the wallplate and battery holder for proper alignment. Perform these checks every 6 months to maintain optimal performance and prevent potential issues.
8.2 Updating Software and Firmware
Regularly check for software and firmware updates to ensure your Honeywell Pro 6000 operates at peak performance. Download updates from the official Honeywell website or through the thermostat’s Wi-Fi connectivity. Follow on-screen instructions to install updates, ensuring the system is powered off during the process. Updates enhance features and fix bugs for optimal functionality.
8.3 Scheduling Professional Maintenance
Scheduling professional maintenance ensures your Honeywell Pro 6000 operates efficiently and safely. Regular inspections by certified technicians prevent potential issues, enhance energy efficiency, and extend the system’s lifespan. Follow manufacturer recommendations for routine checks and necessary repairs to maintain optimal performance and warranty compliance.
Congratulations on completing the Honeywell Pro 6000 installation! Ensure all systems operate correctly, verify configurations, and test performance. Proper disposal of packaging and recycling of old devices is recommended for environmental safety.
9.1 Final Verification of Installation and Configuration
After installation, test heating, cooling, emergency heat, and fan functions to ensure smooth operation. Verify thermostat configuration matches your HVAC system and all settings are correctly programmed. Check for error codes and ensure proper system operation. Confirm wiring connections are secure and the wallplate is mounted correctly. Ensure optimal performance and efficiency before finalizing the setup.
9.2 Ensuring Optimal Performance and Efficiency
Test heating, cooling, emergency heat, and fan functions to confirm proper operation. Configure energy-saving features and customize settings for your HVAC system. Regularly update software and inspect wiring connections. Ensure the thermostat is programmed correctly and matches your system requirements. Refer to the manual for advanced customization options to maximize efficiency and performance.
9.3 Disposal and Recycling Information
Contact your local waste management authority for recycling instructions. Properly dispose of the Honeywell Pro 6000 thermostat and batteries, adhering to environmental regulations. Remove batteries before disposal and consider reaching out to Honeywell support for additional guidance on responsible recycling practices.